This site uses cookies for better user experience and analytics.
The Complete Tactical Duty Belt Bundle
No reviews
A better foundation for every shift. Our padded Cloud PRO RT belt system, paired with four practical accessories to keep your essentials organized and within reach.
✓ Memory foam padding built into the belt
✓ Ratchet adjustments in ¼-inch increments
✓ Matching inner belt included
✓ Four accessories. One coordinated setup.
What's Included?
What's Included in the Bundle:
Cloud PRO RT - Padded Ratchet Duty Belt System: The foundation of your rig. This padded belt system is designed for heavy-duty support and features a ratchet mechanism for perfect micro-adjustments, ensuring all-day comfort and optimal weight distribution.
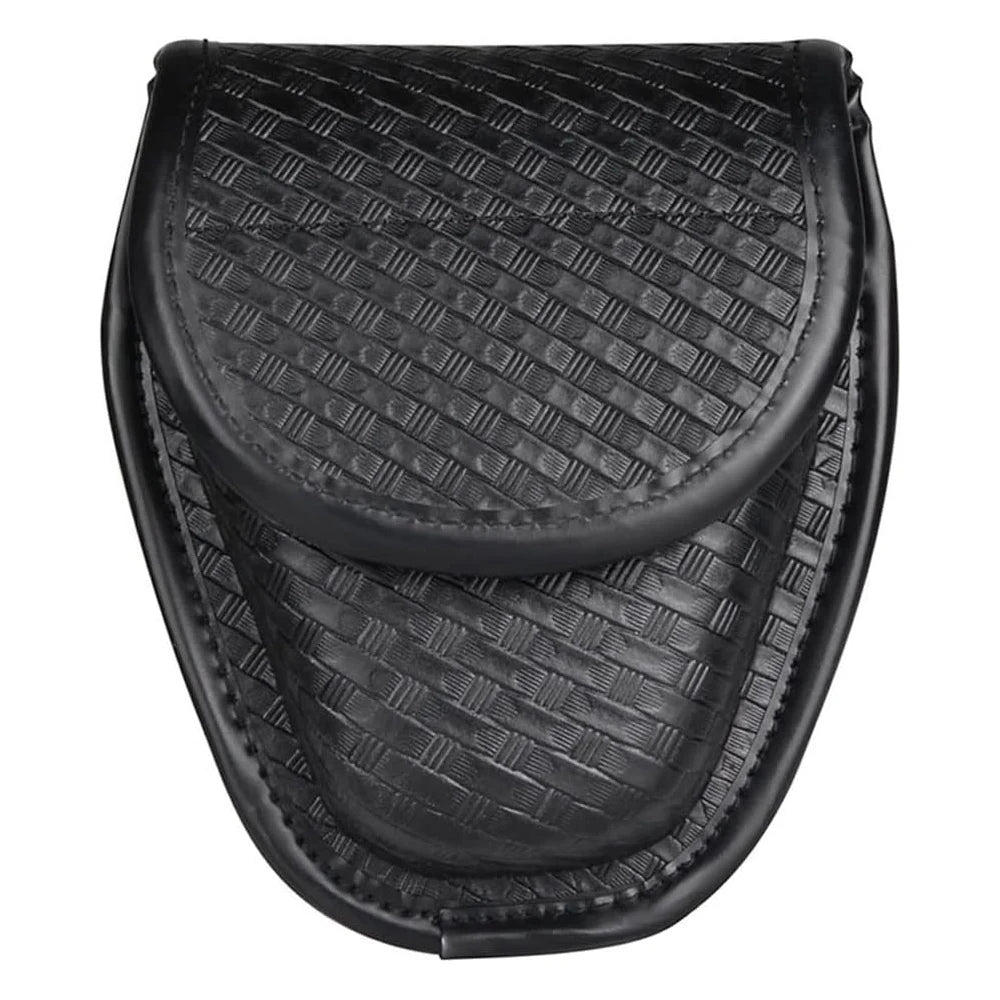
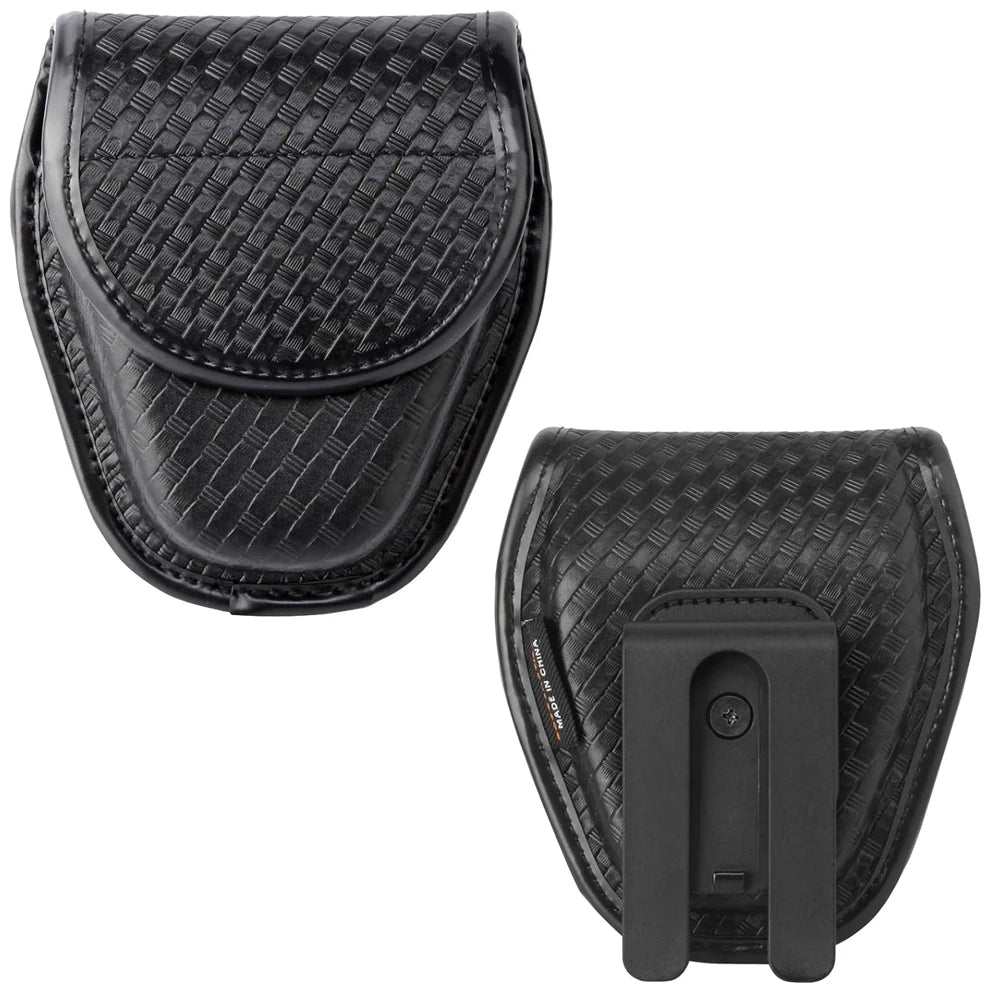
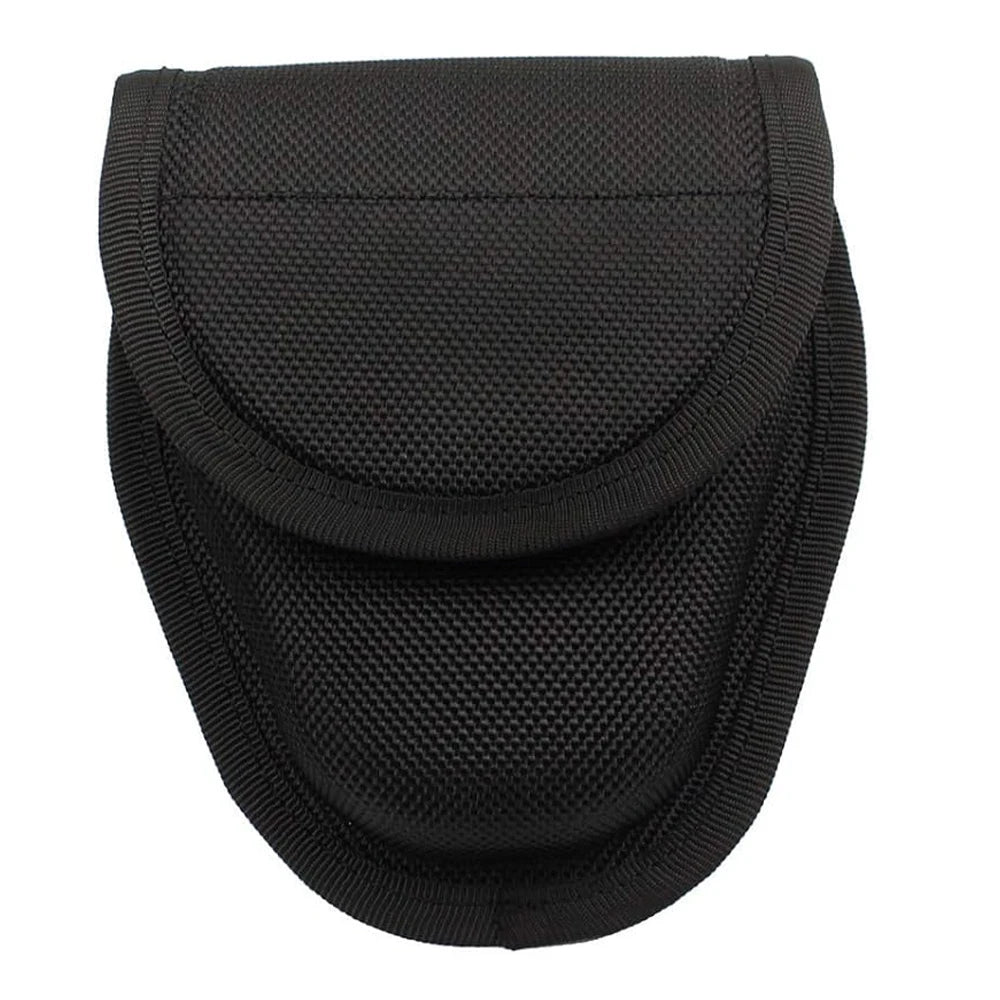
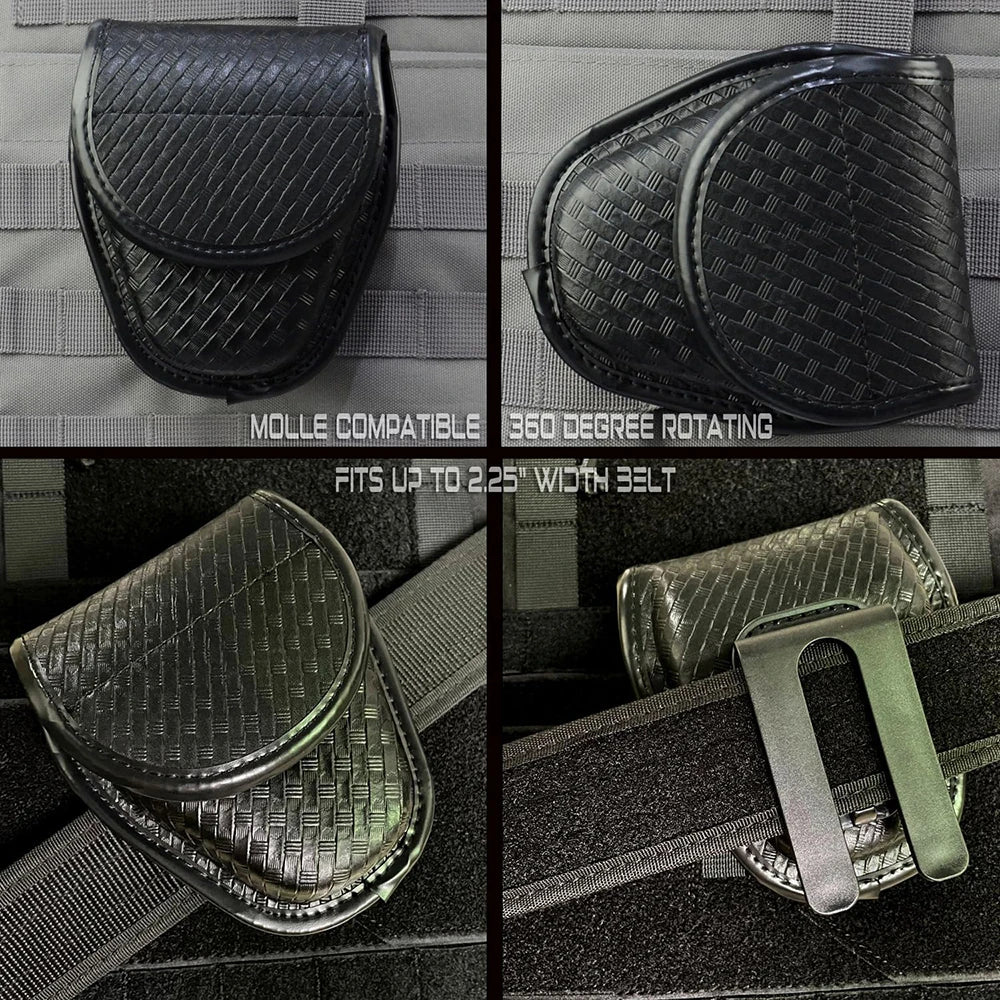
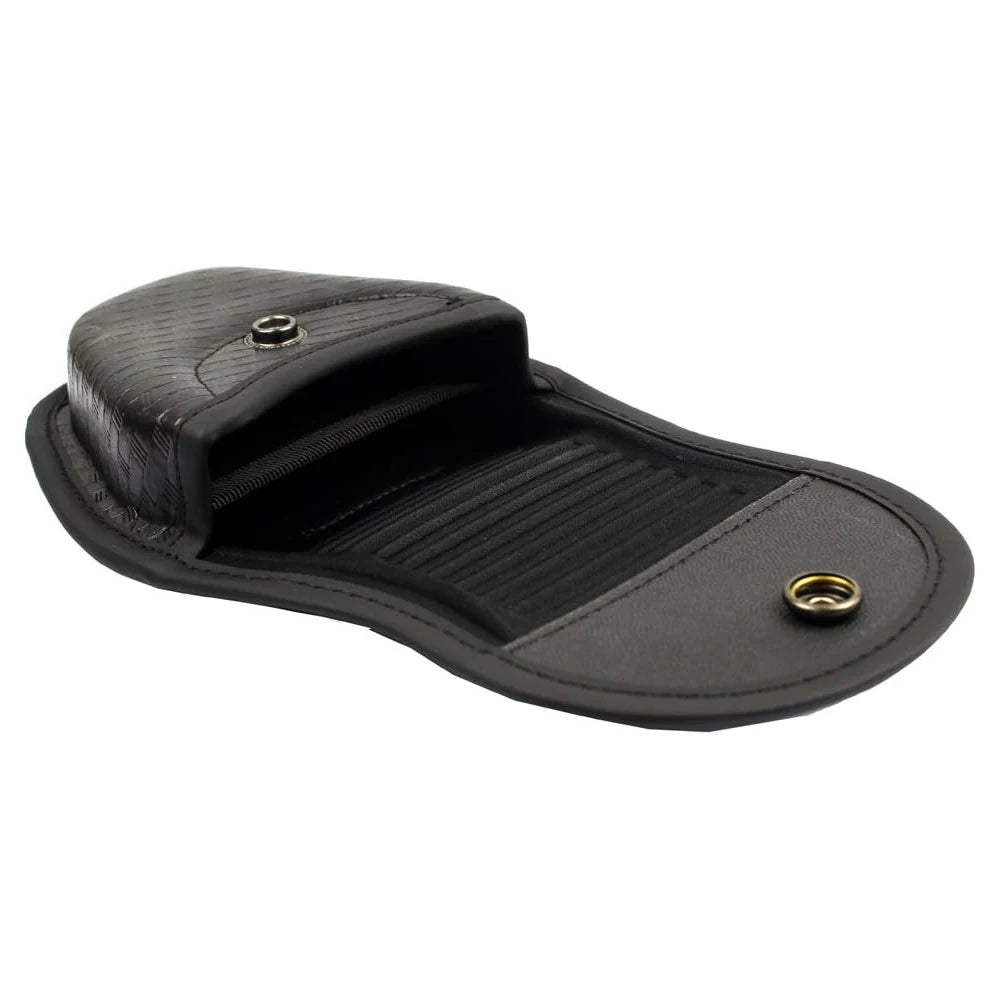
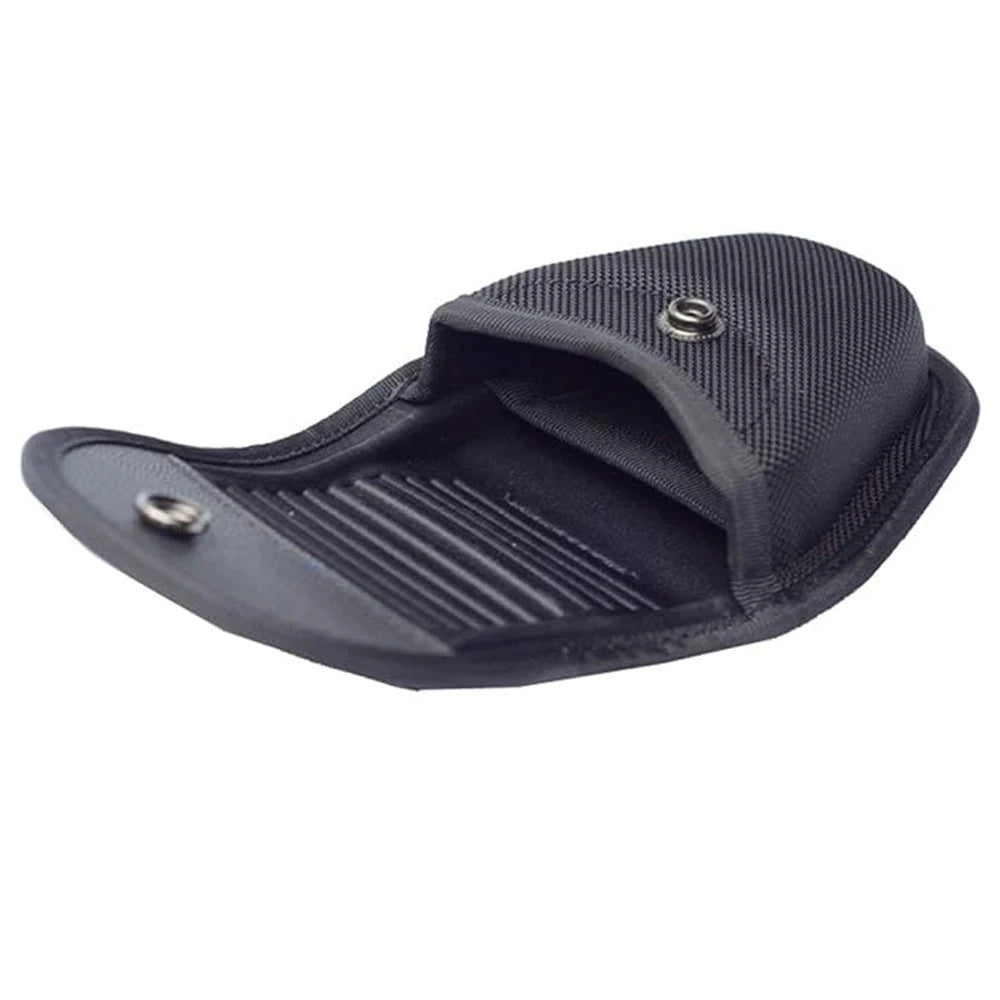
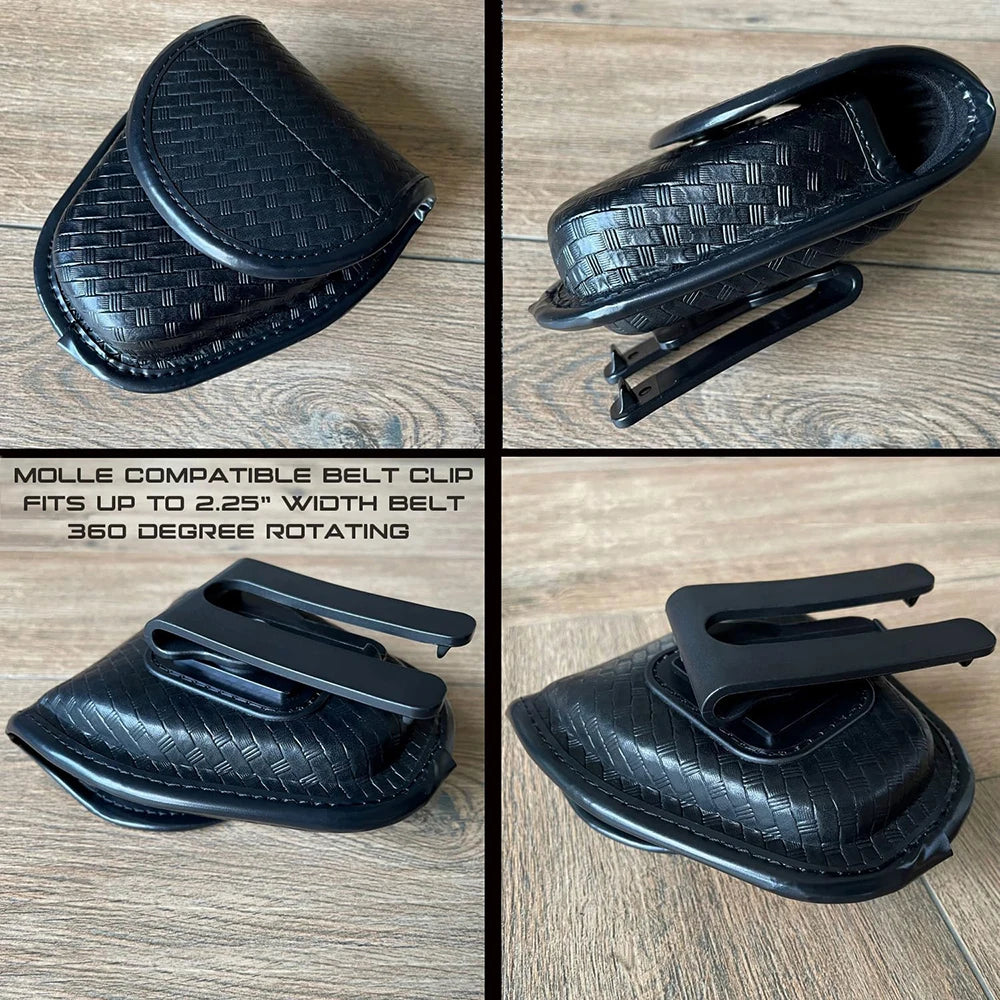
Double Handcuff Pouch: Keep your restraints secure, protected, and readily accessible for quick deployment when seconds count.
Nylon Radio Holster: A rugged, reliable carrier for your communication device, ensuring your radio stays locked in place yet easy to reach.
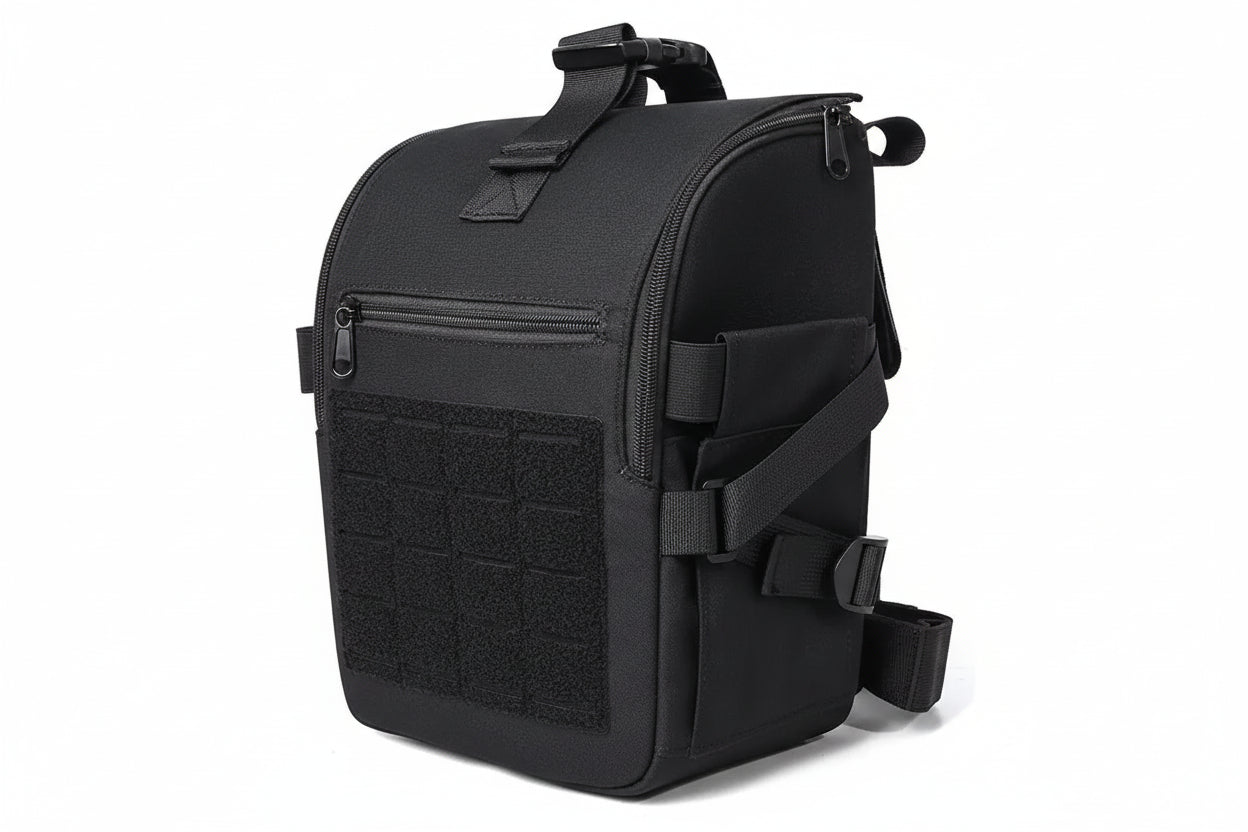
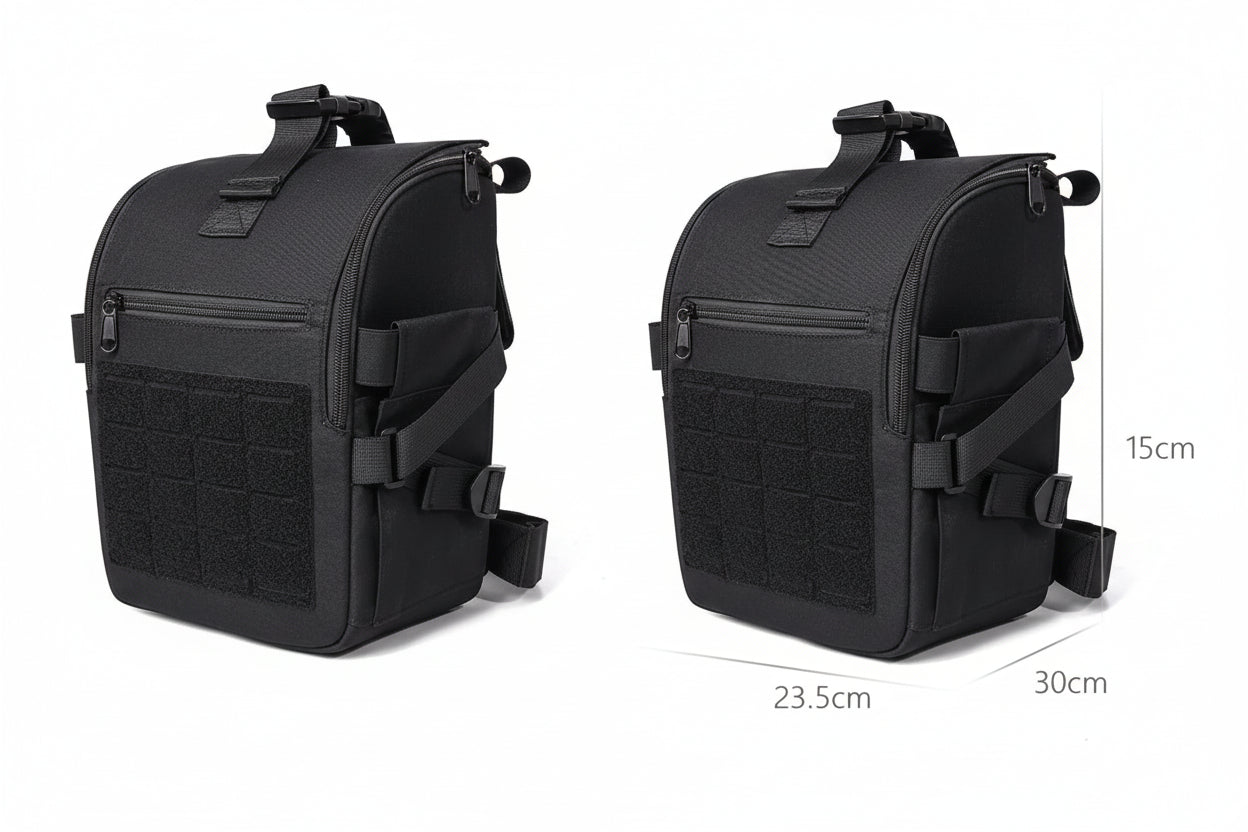
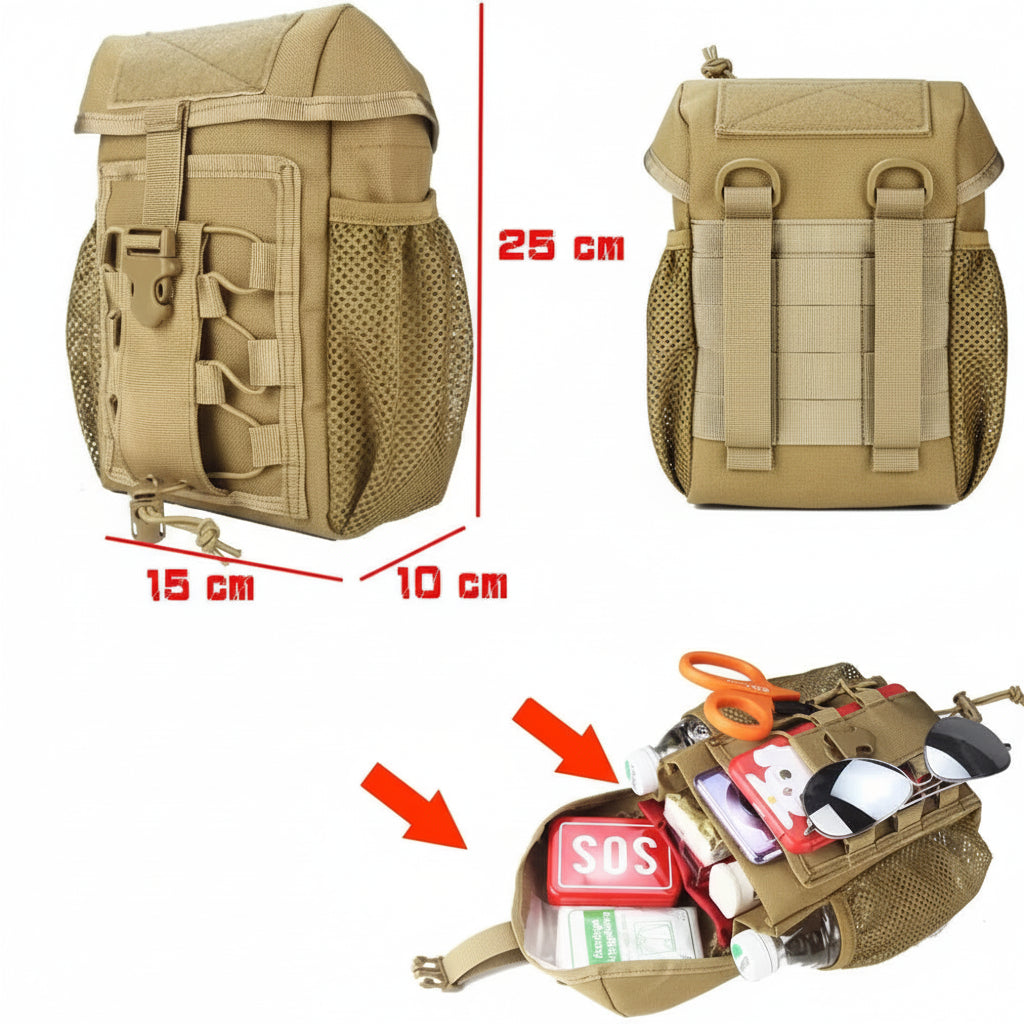
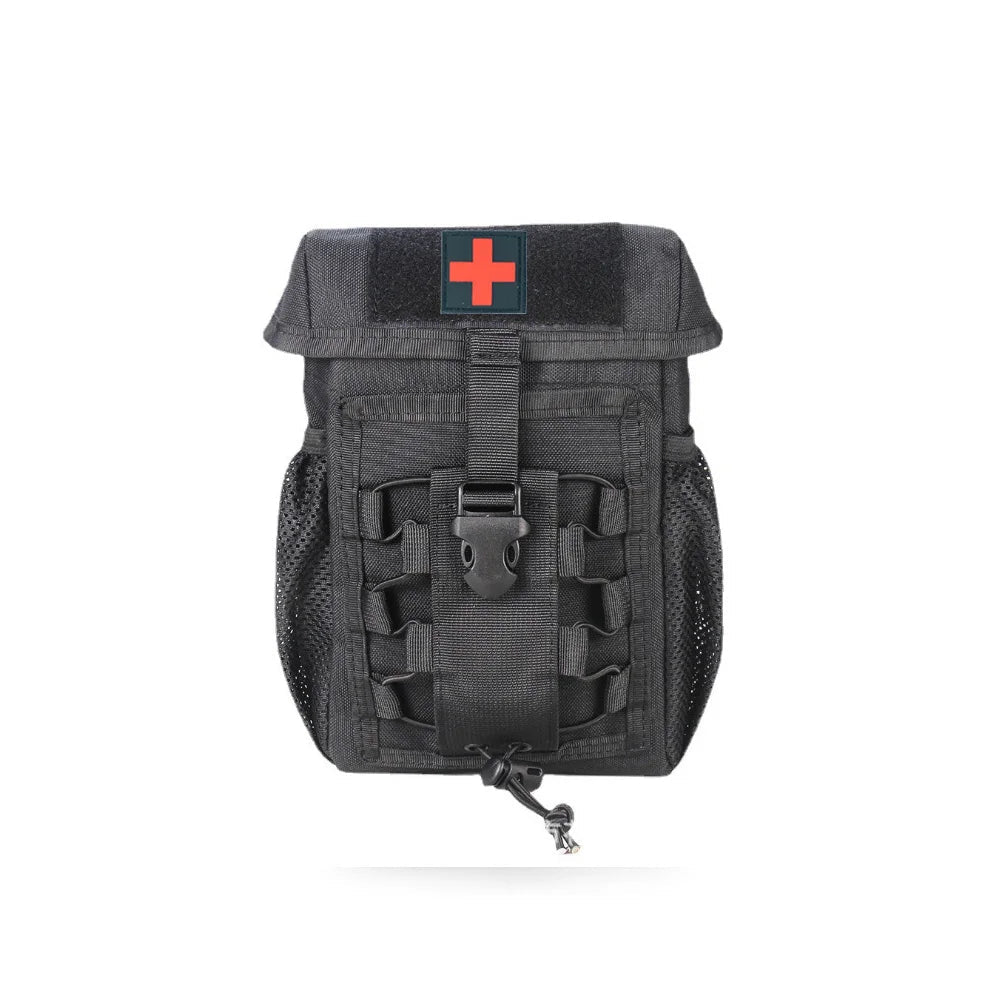
Dump Pouch – Tactical Utility Drop Bag: A versatile, easily deployed pouch for storing empty magazines, evidence, or miscellaneous utility gear on the go.
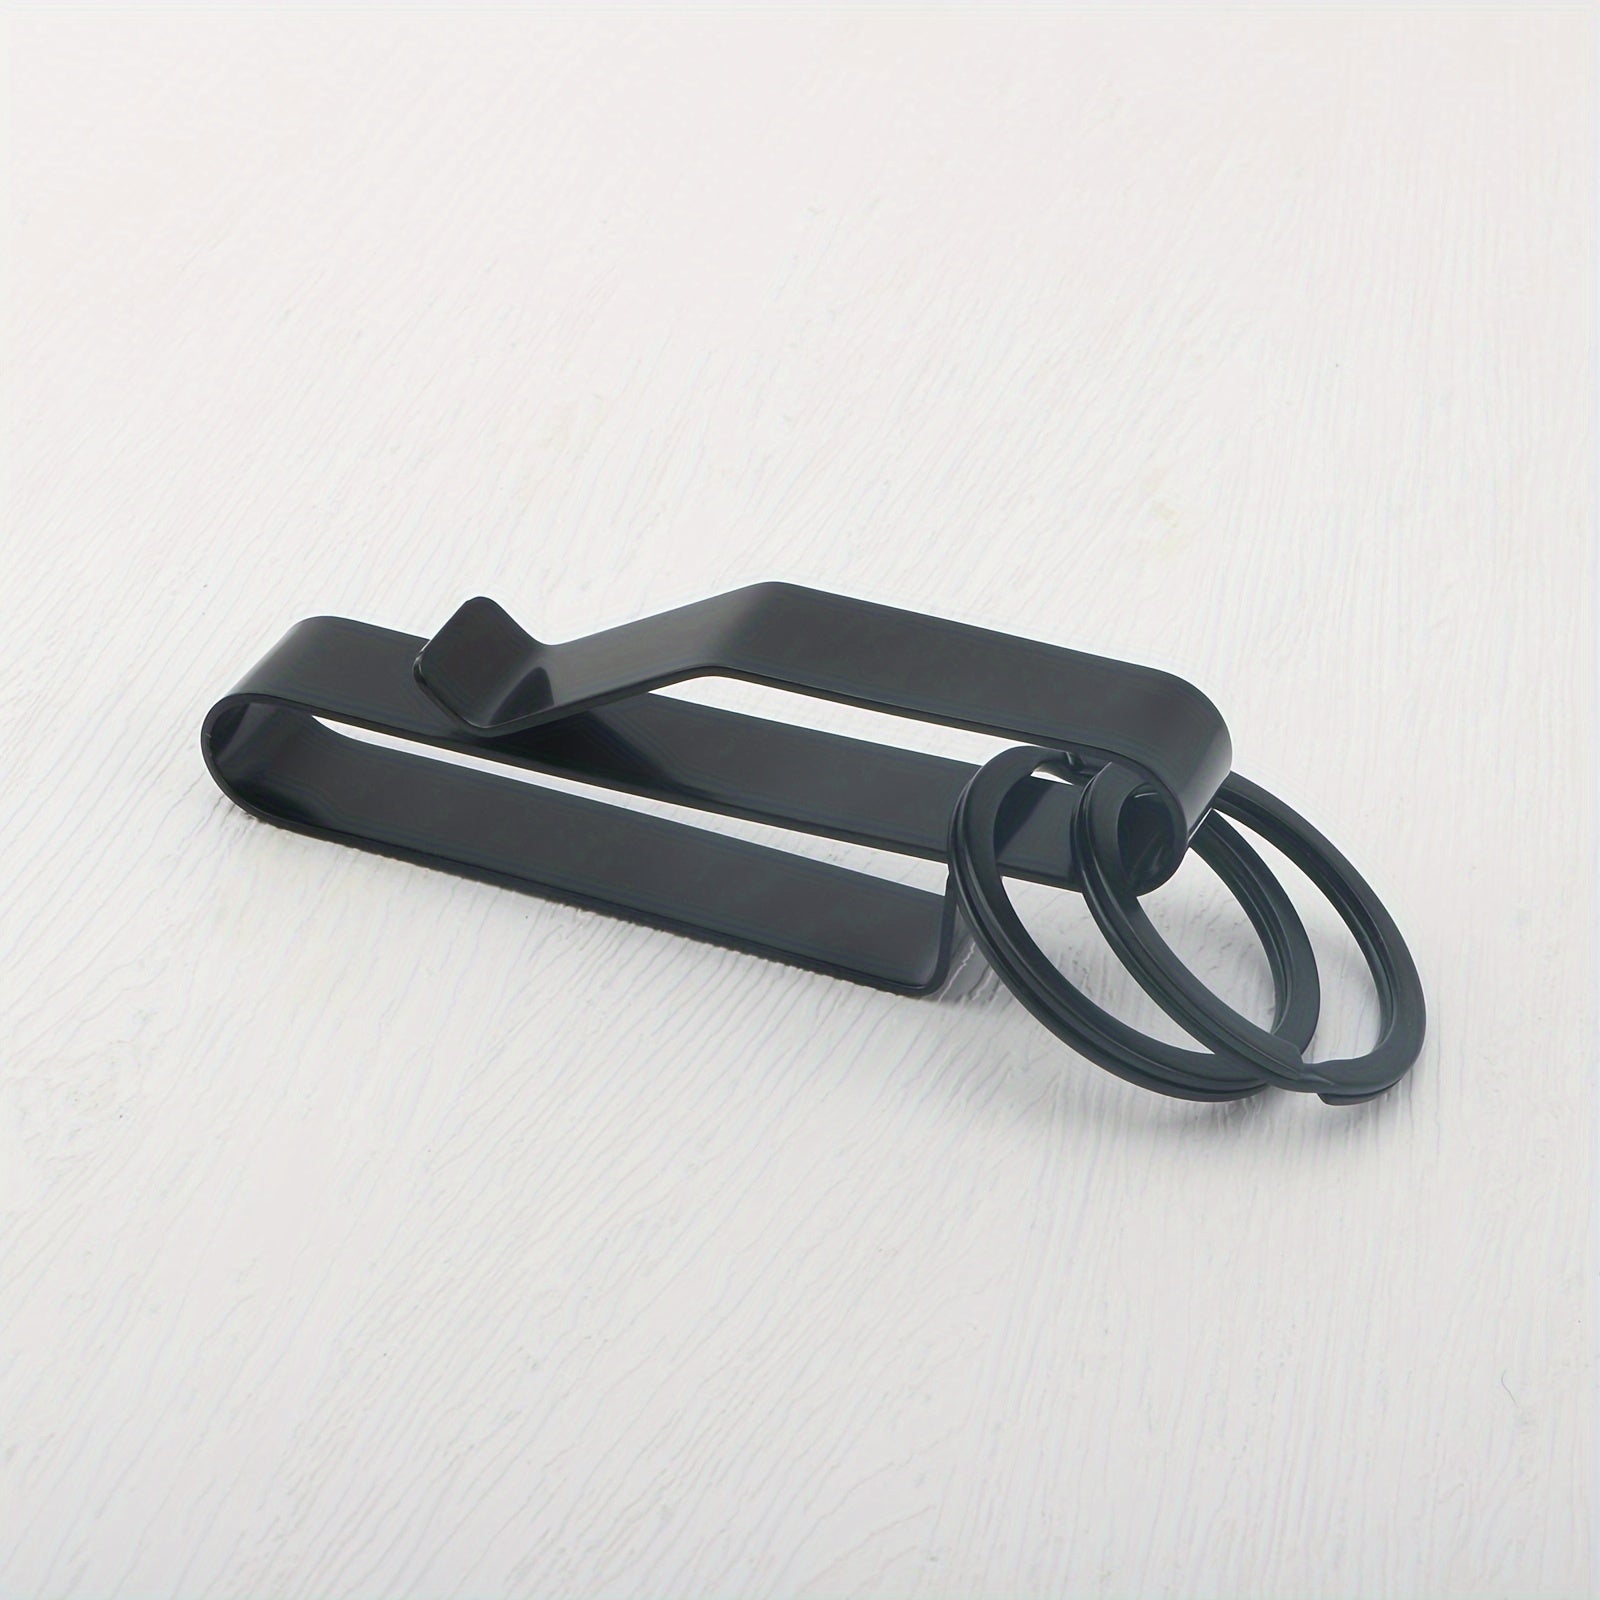
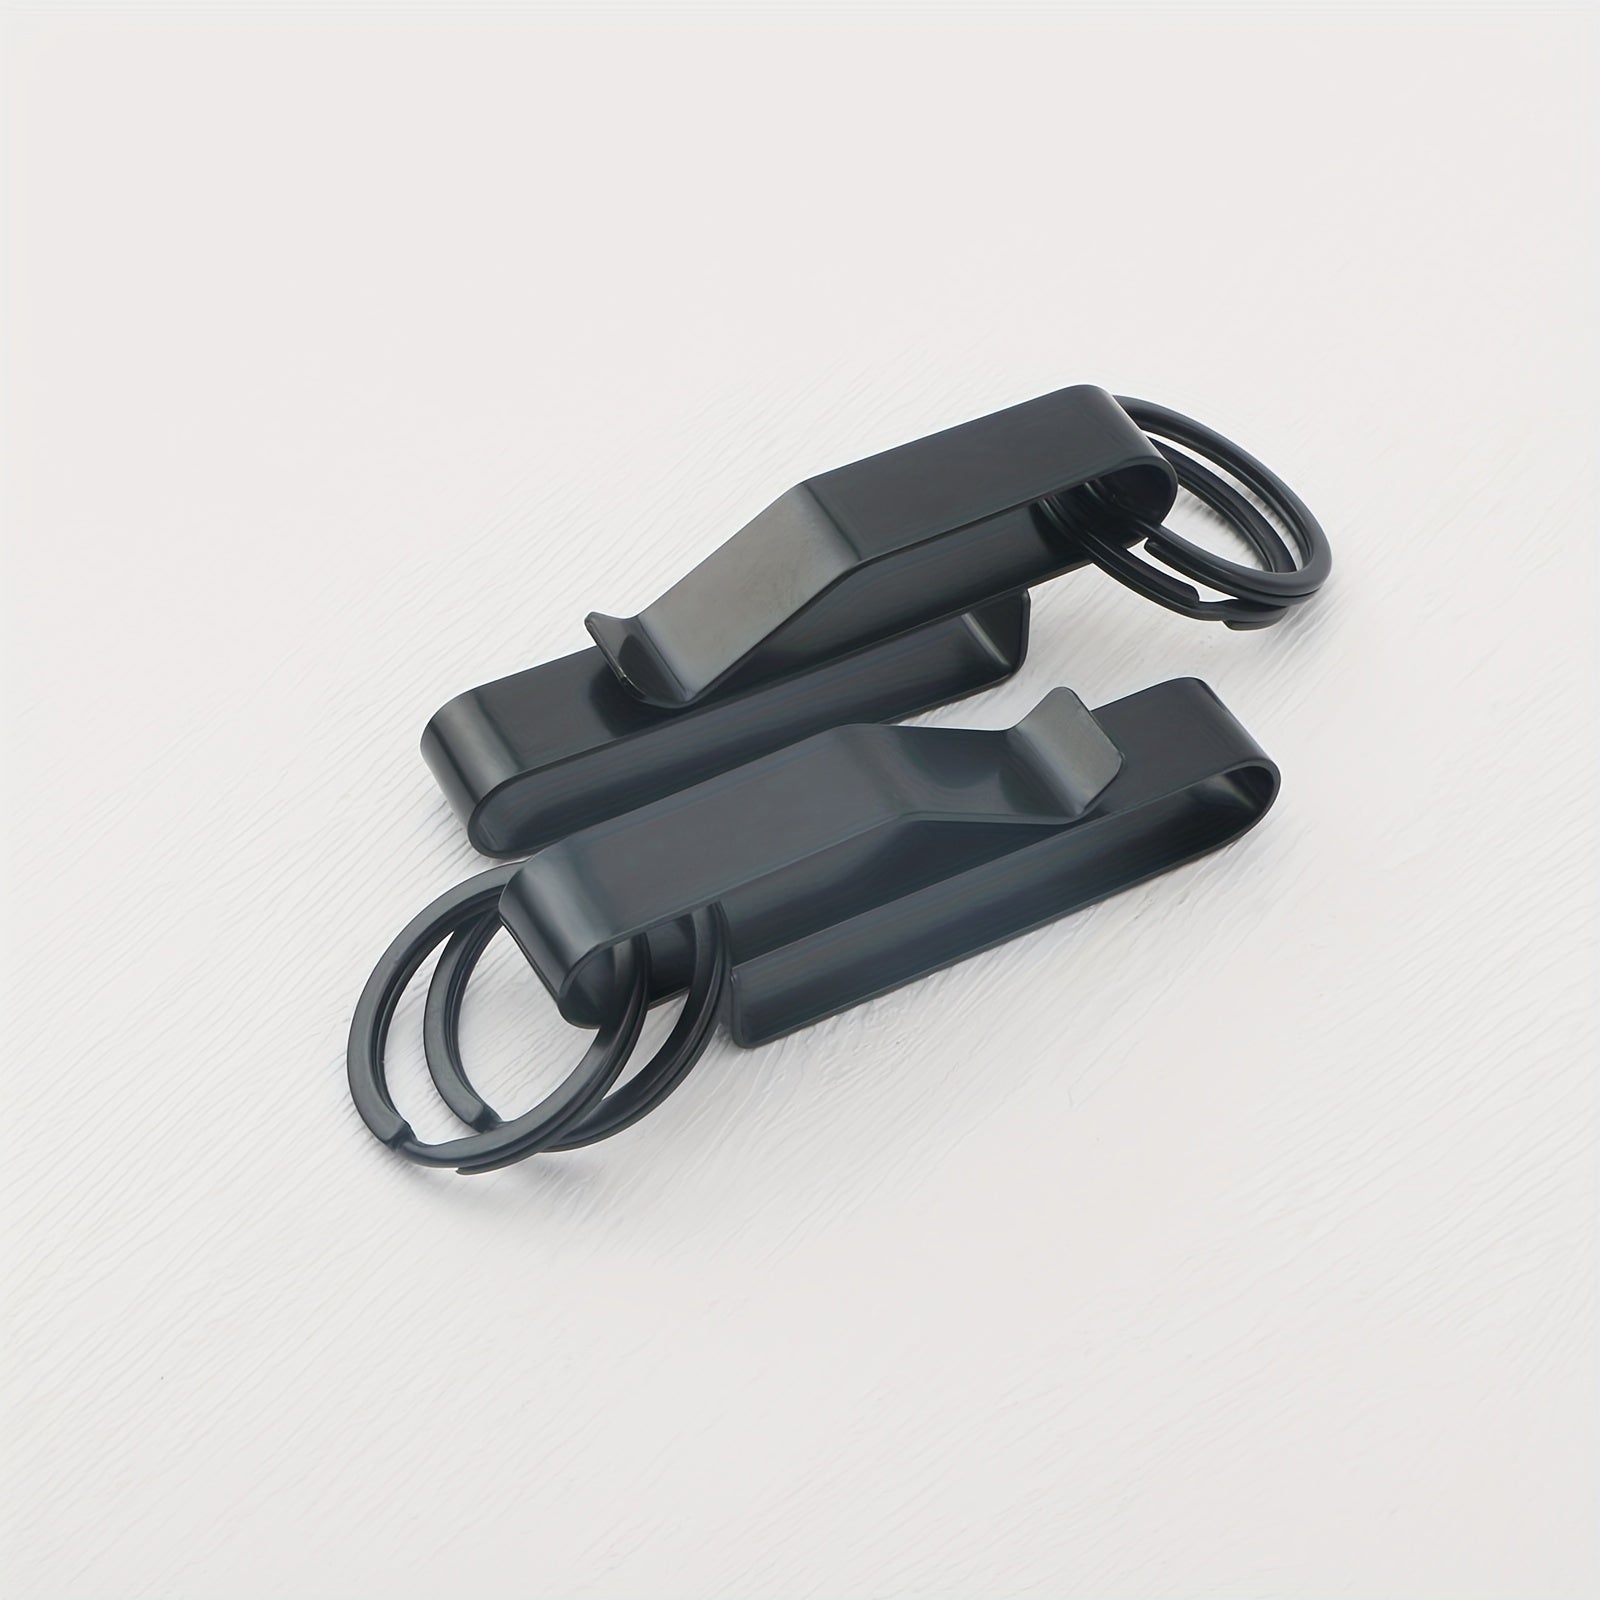
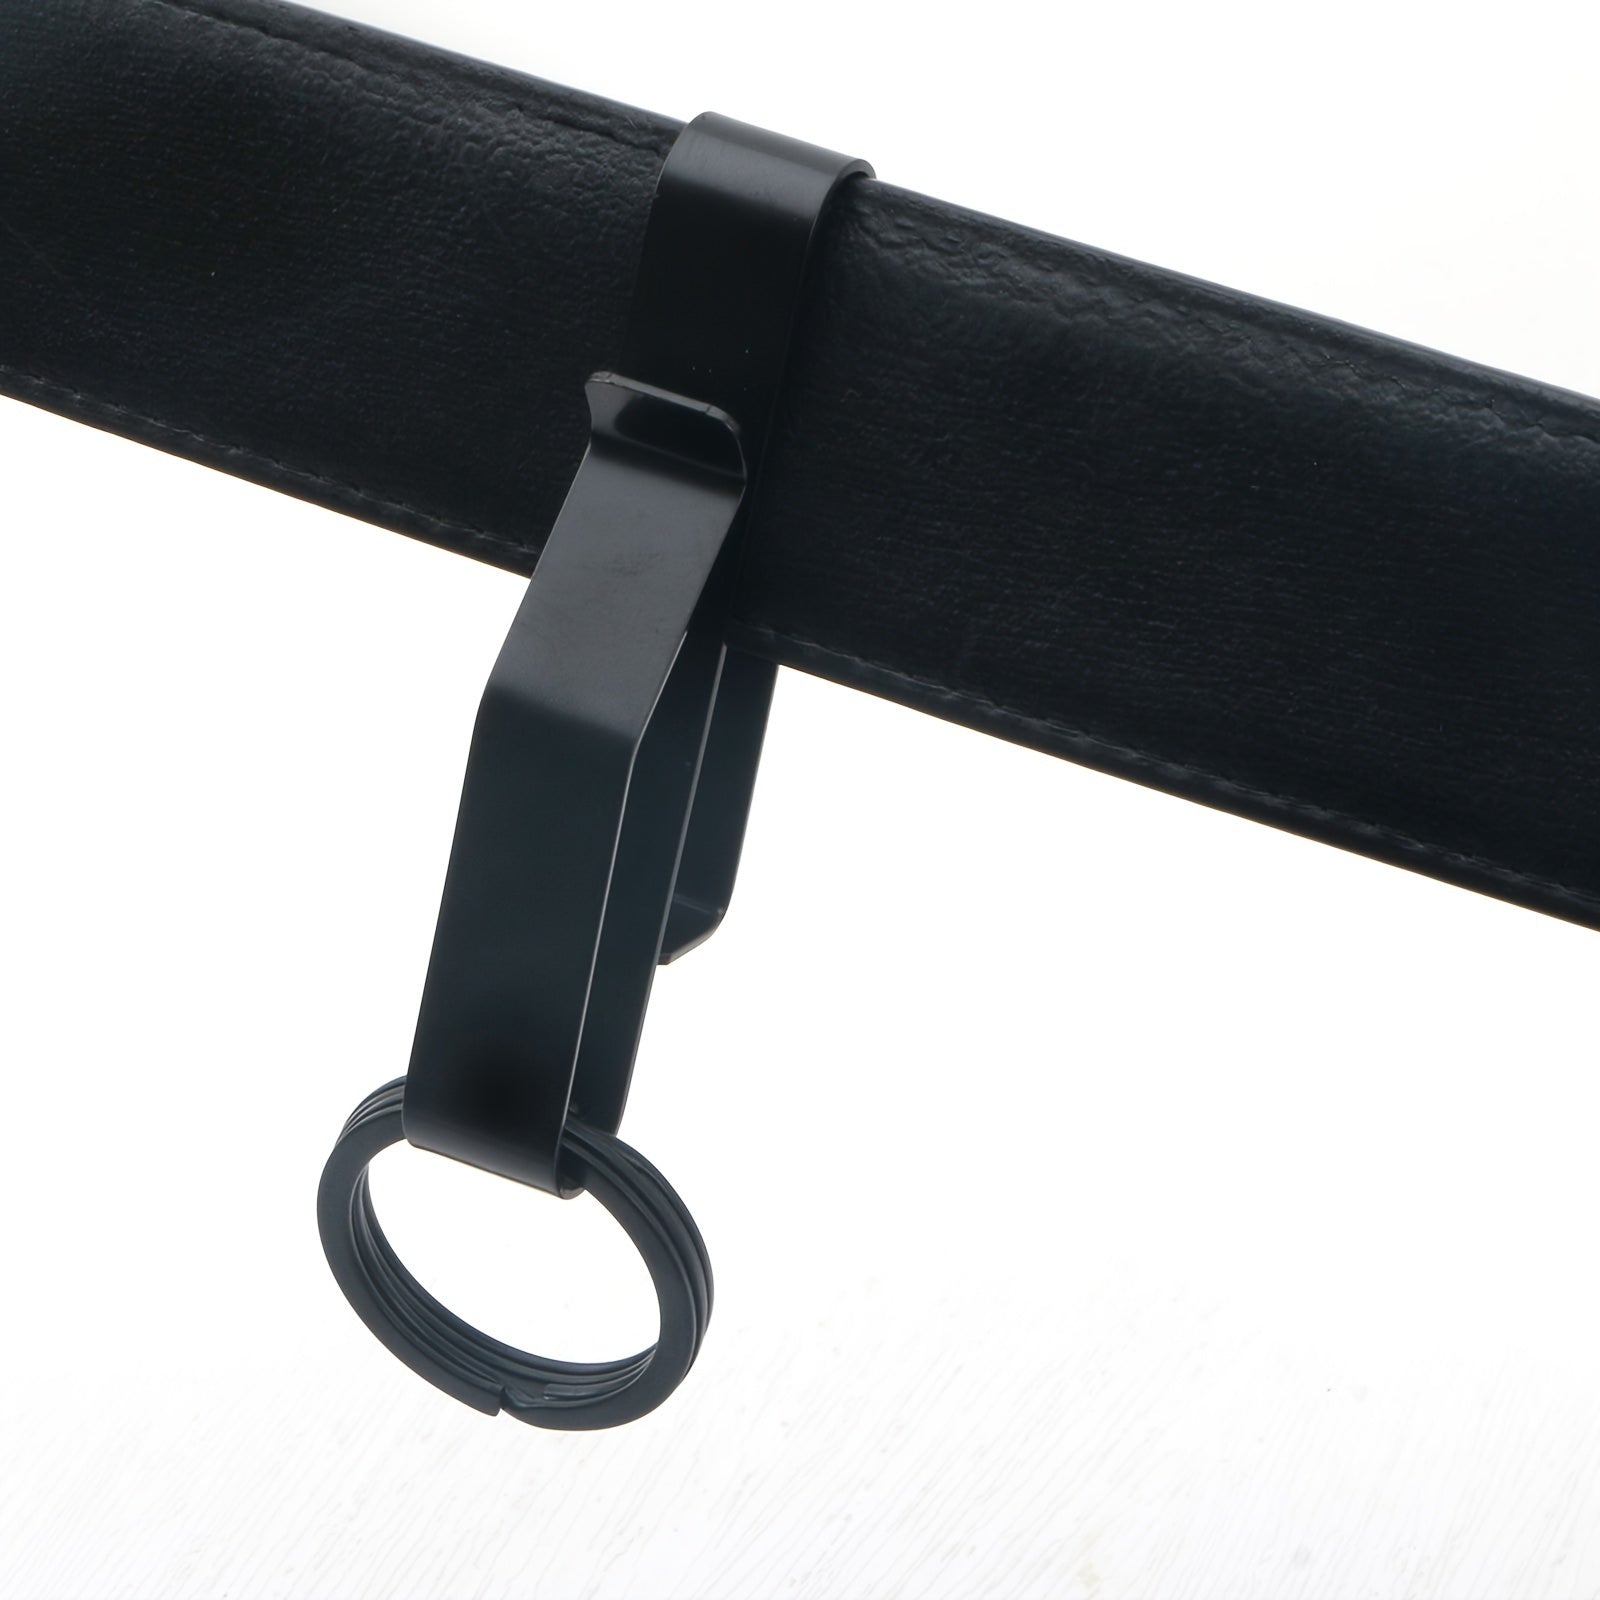
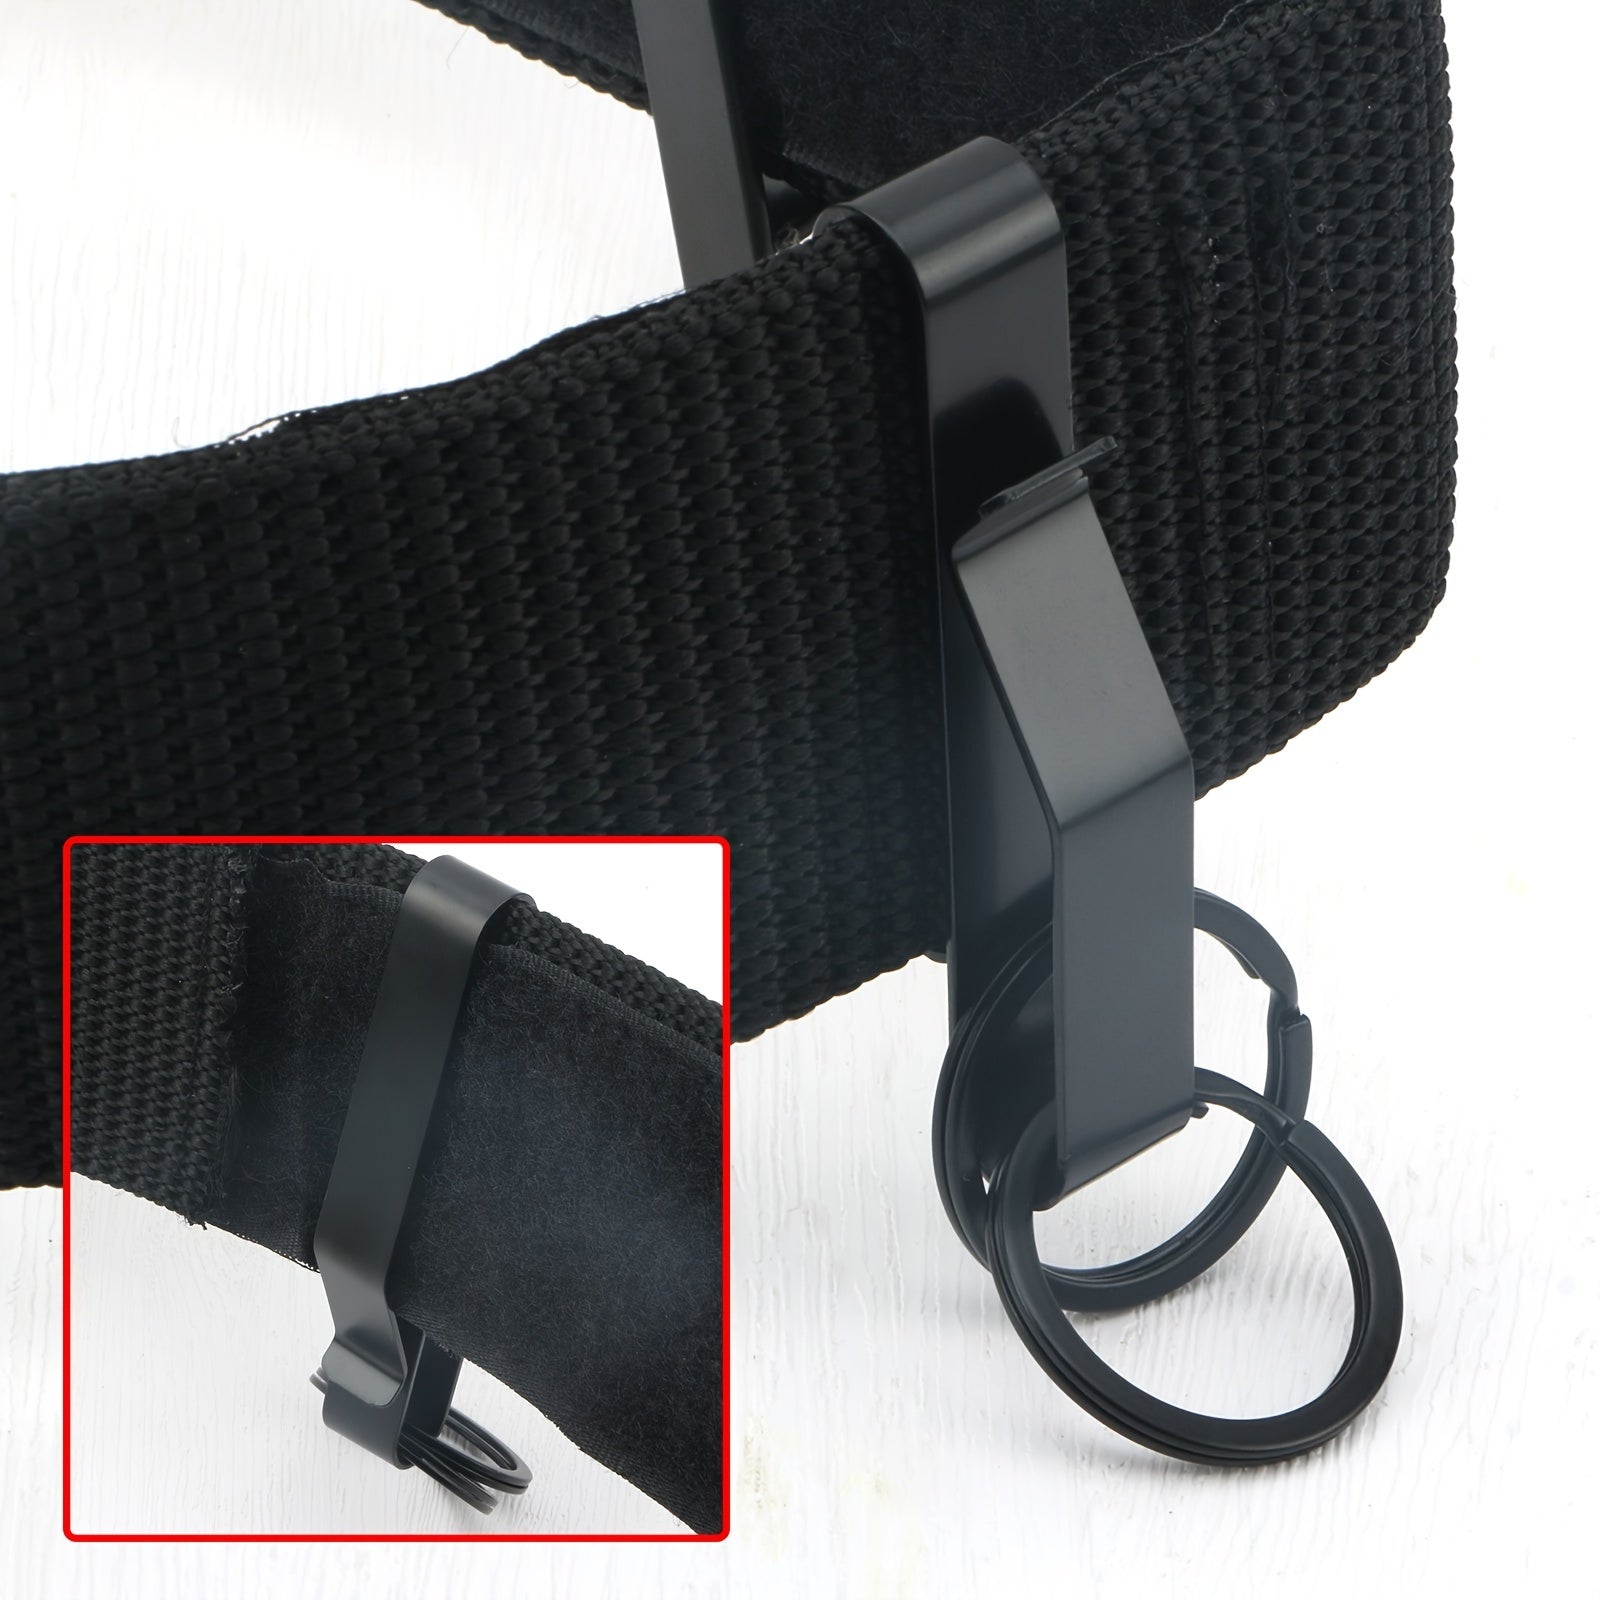
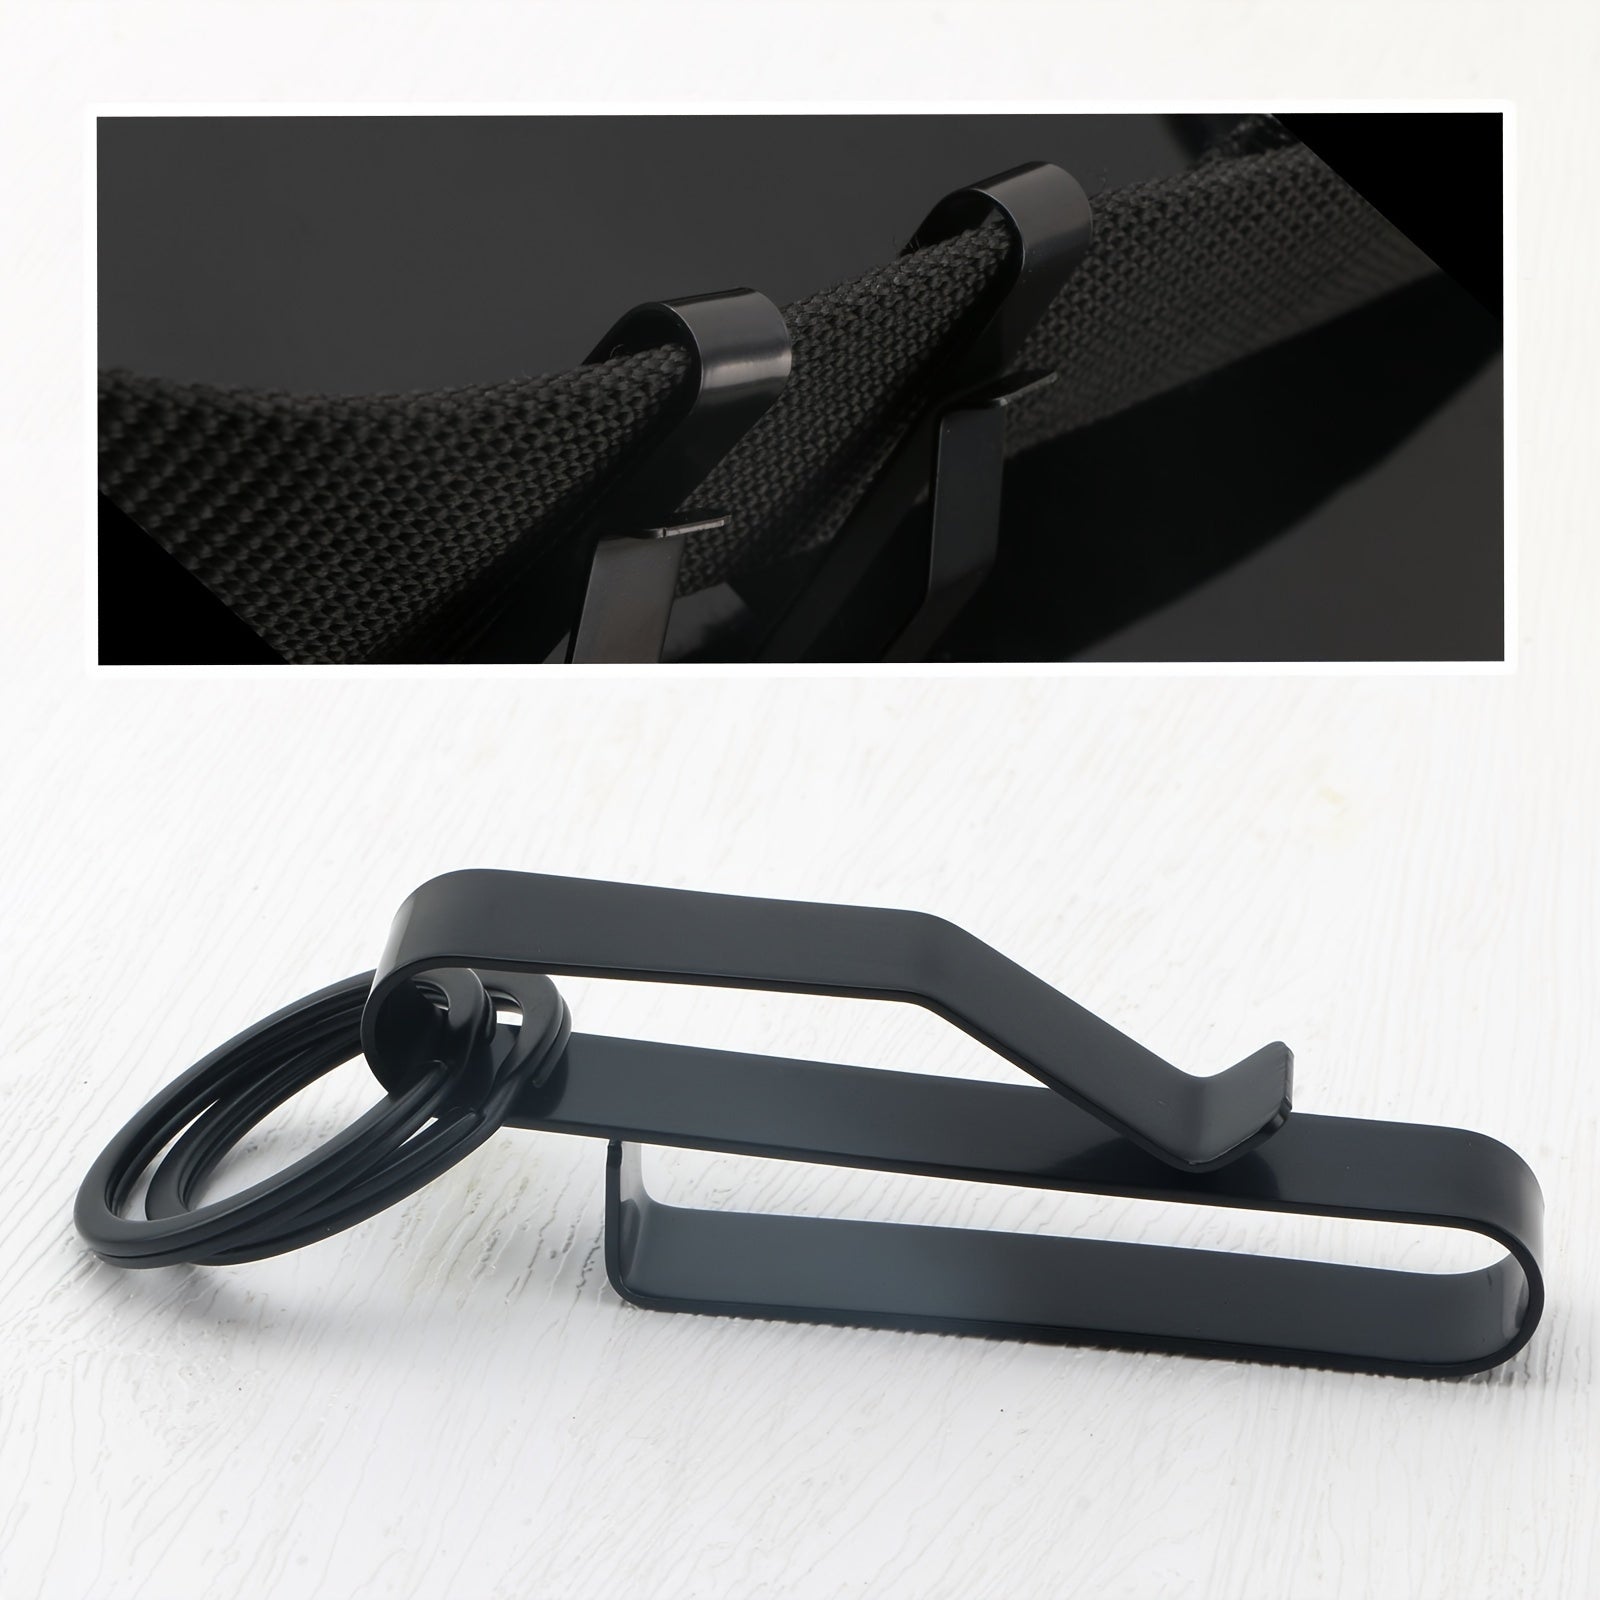
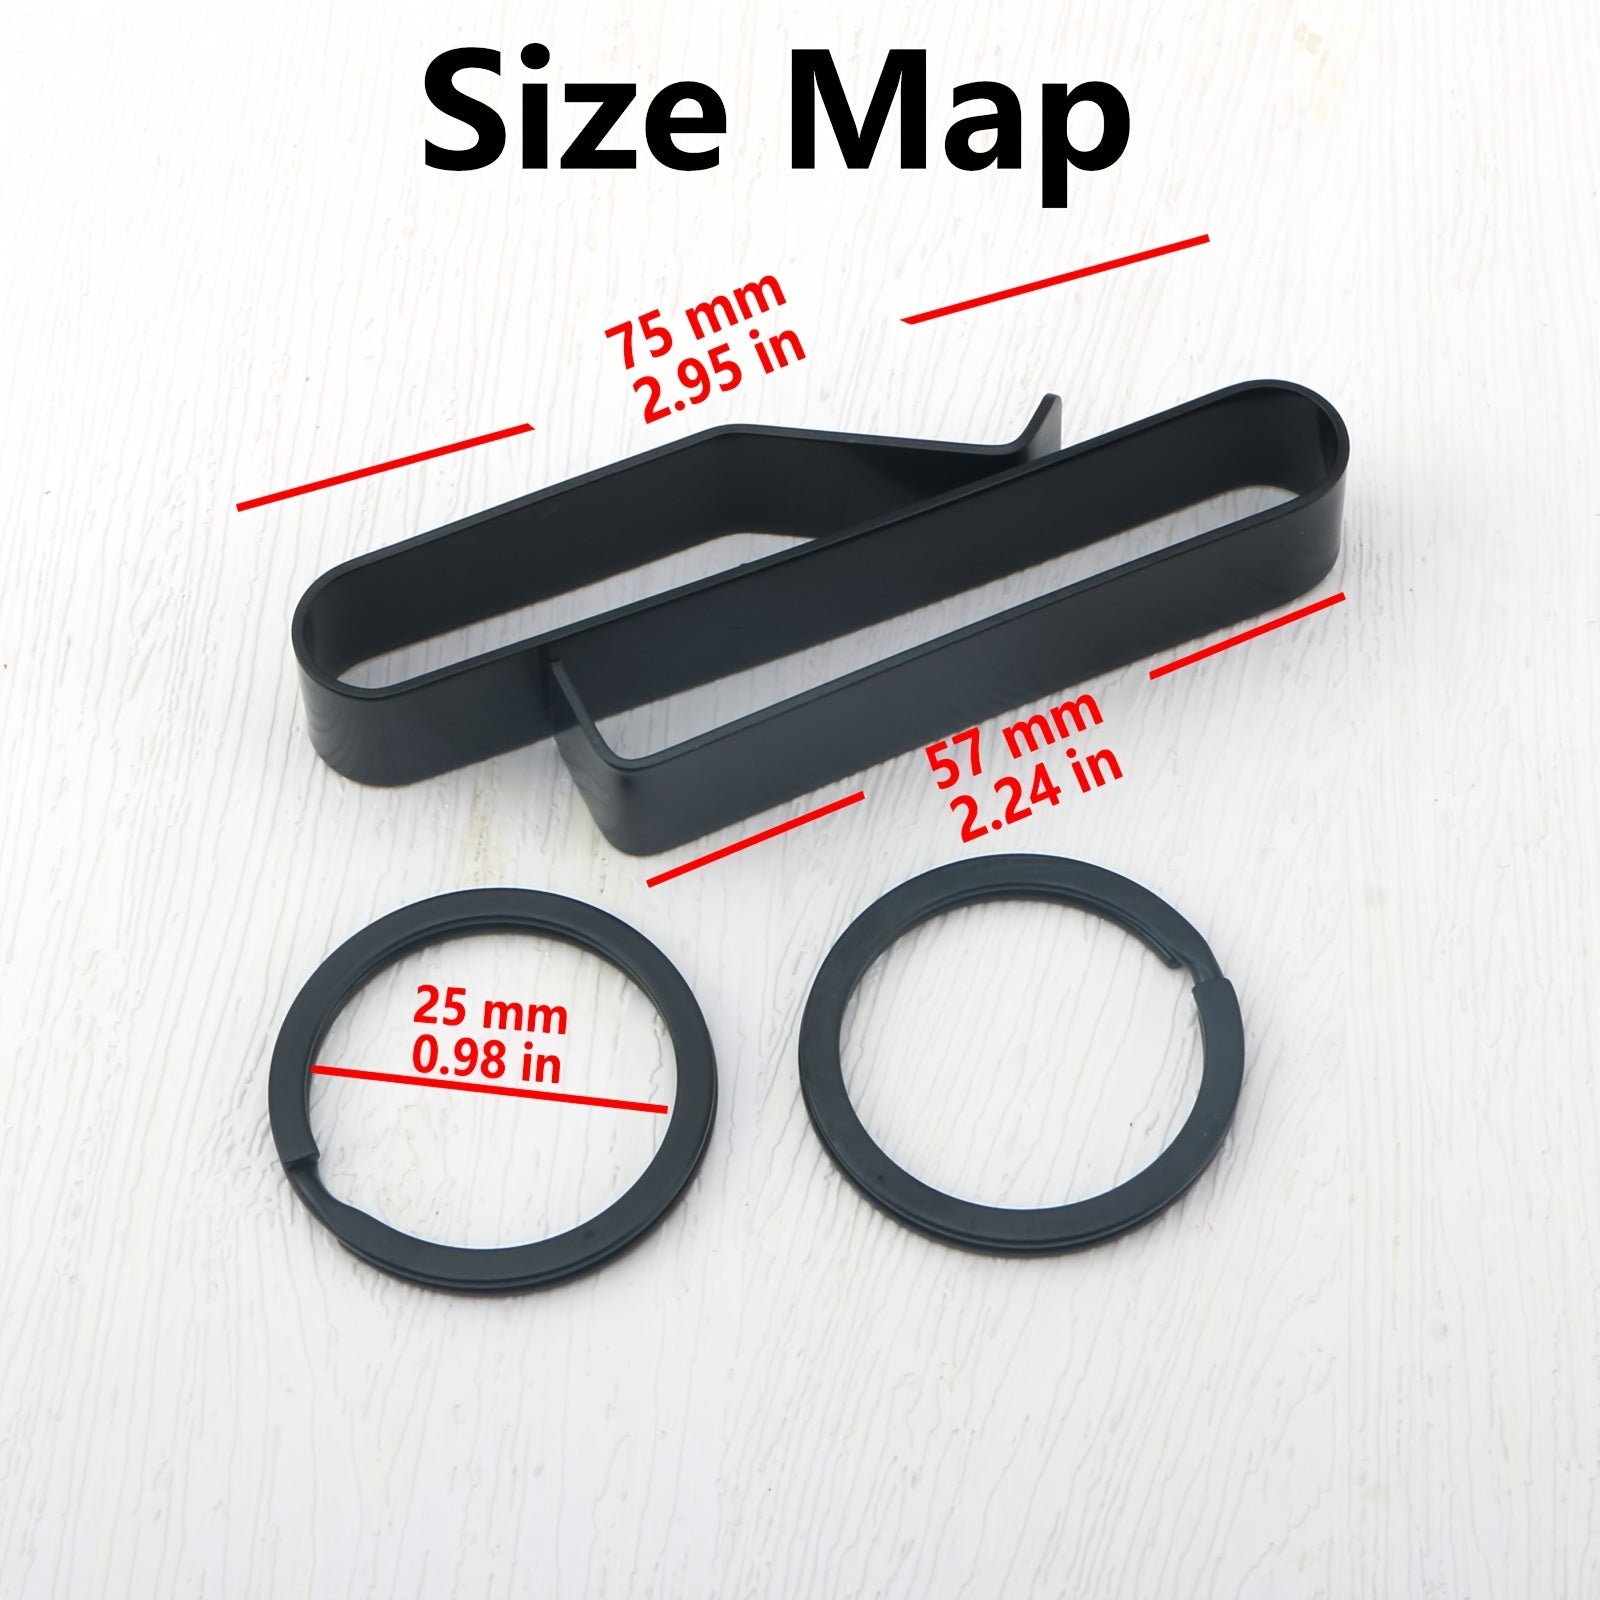
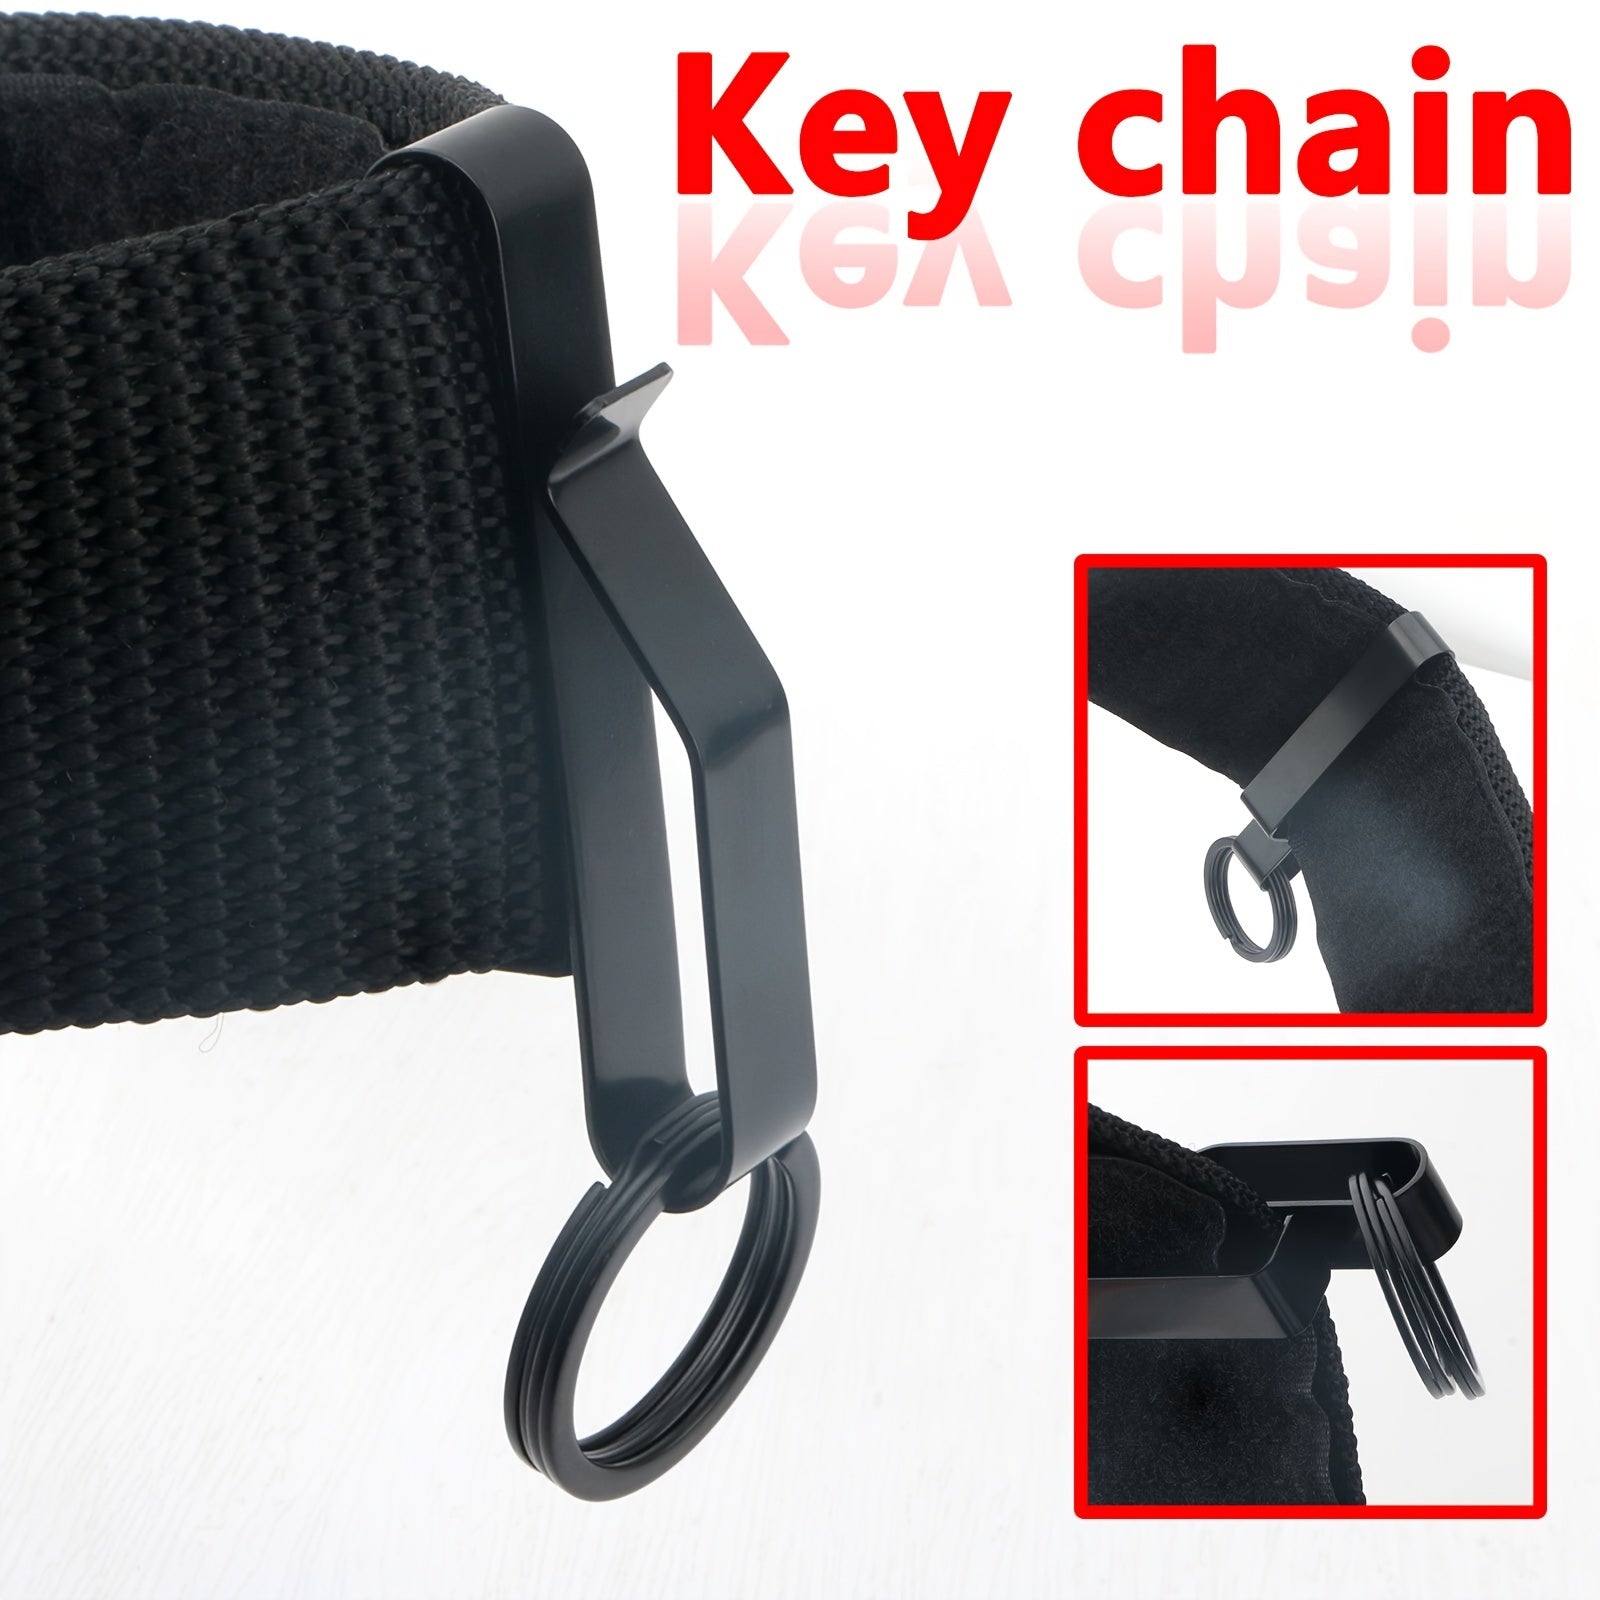
Belt Key Holder – Heavy-Duty Stainless Steel Clip with Loop Key Ring: Never lose track of your master keys again. This heavy-duty stainless steel clip provides secure retention and rapid access.
Custom Sizing Instructions
IMPORTANT: Please follow these instructions carefully. Any cut belts are final sale and cannot be returned. When in doubt, always cut less than you think—you can always trim more, but you cannot add length back once cut.
Step 1: Fit Your Foundation Layers
Put on your standard uniform pants and your inner belt to establish your baseline working layer.
Step 2: Position the Outer Belt
Layer the padded tactical belt over your uniform pants and inner belt. Ratchet the buckle to your most comfortable, secure everyday wearing position.
Step 3: Measure the Tail Length
Note the excess length (the "tail") extending past the buckle.
Step 4: Detach the Buckle
Use the provided hex key to loosen the set screws securing the belt strap into the buckle, then remove the buckle completely.
Step 5: Measure and Cut
Take your initial tail measurement from Step 3 and subtract 3 inches (or your preferred tail length).Note: We recommend leaving a tail length between 3 to 5 inches for optimal fit and gear clearance.
Pro Tip: Measure twice and cut conservatively. It is always easier to make a second small trim than to cut off too much initially.
Step 6: Reattach the Buckle
Insert the freshly cut end of the belt fully into the buckle housing and securely tighten the set screws using the provided hex key. Verify that the grip is firm before putting the belt into service.